Making a Shelf with Reading Lights
This post was originally written for my other blog. At the time I lived in Lübeck, Germany. I’m still pretty happy how it turned out. Right now (February 2016) the shelf is in storage, but I hope to one day mount it above my bed again.
As is customary, let’s start with the finished product:
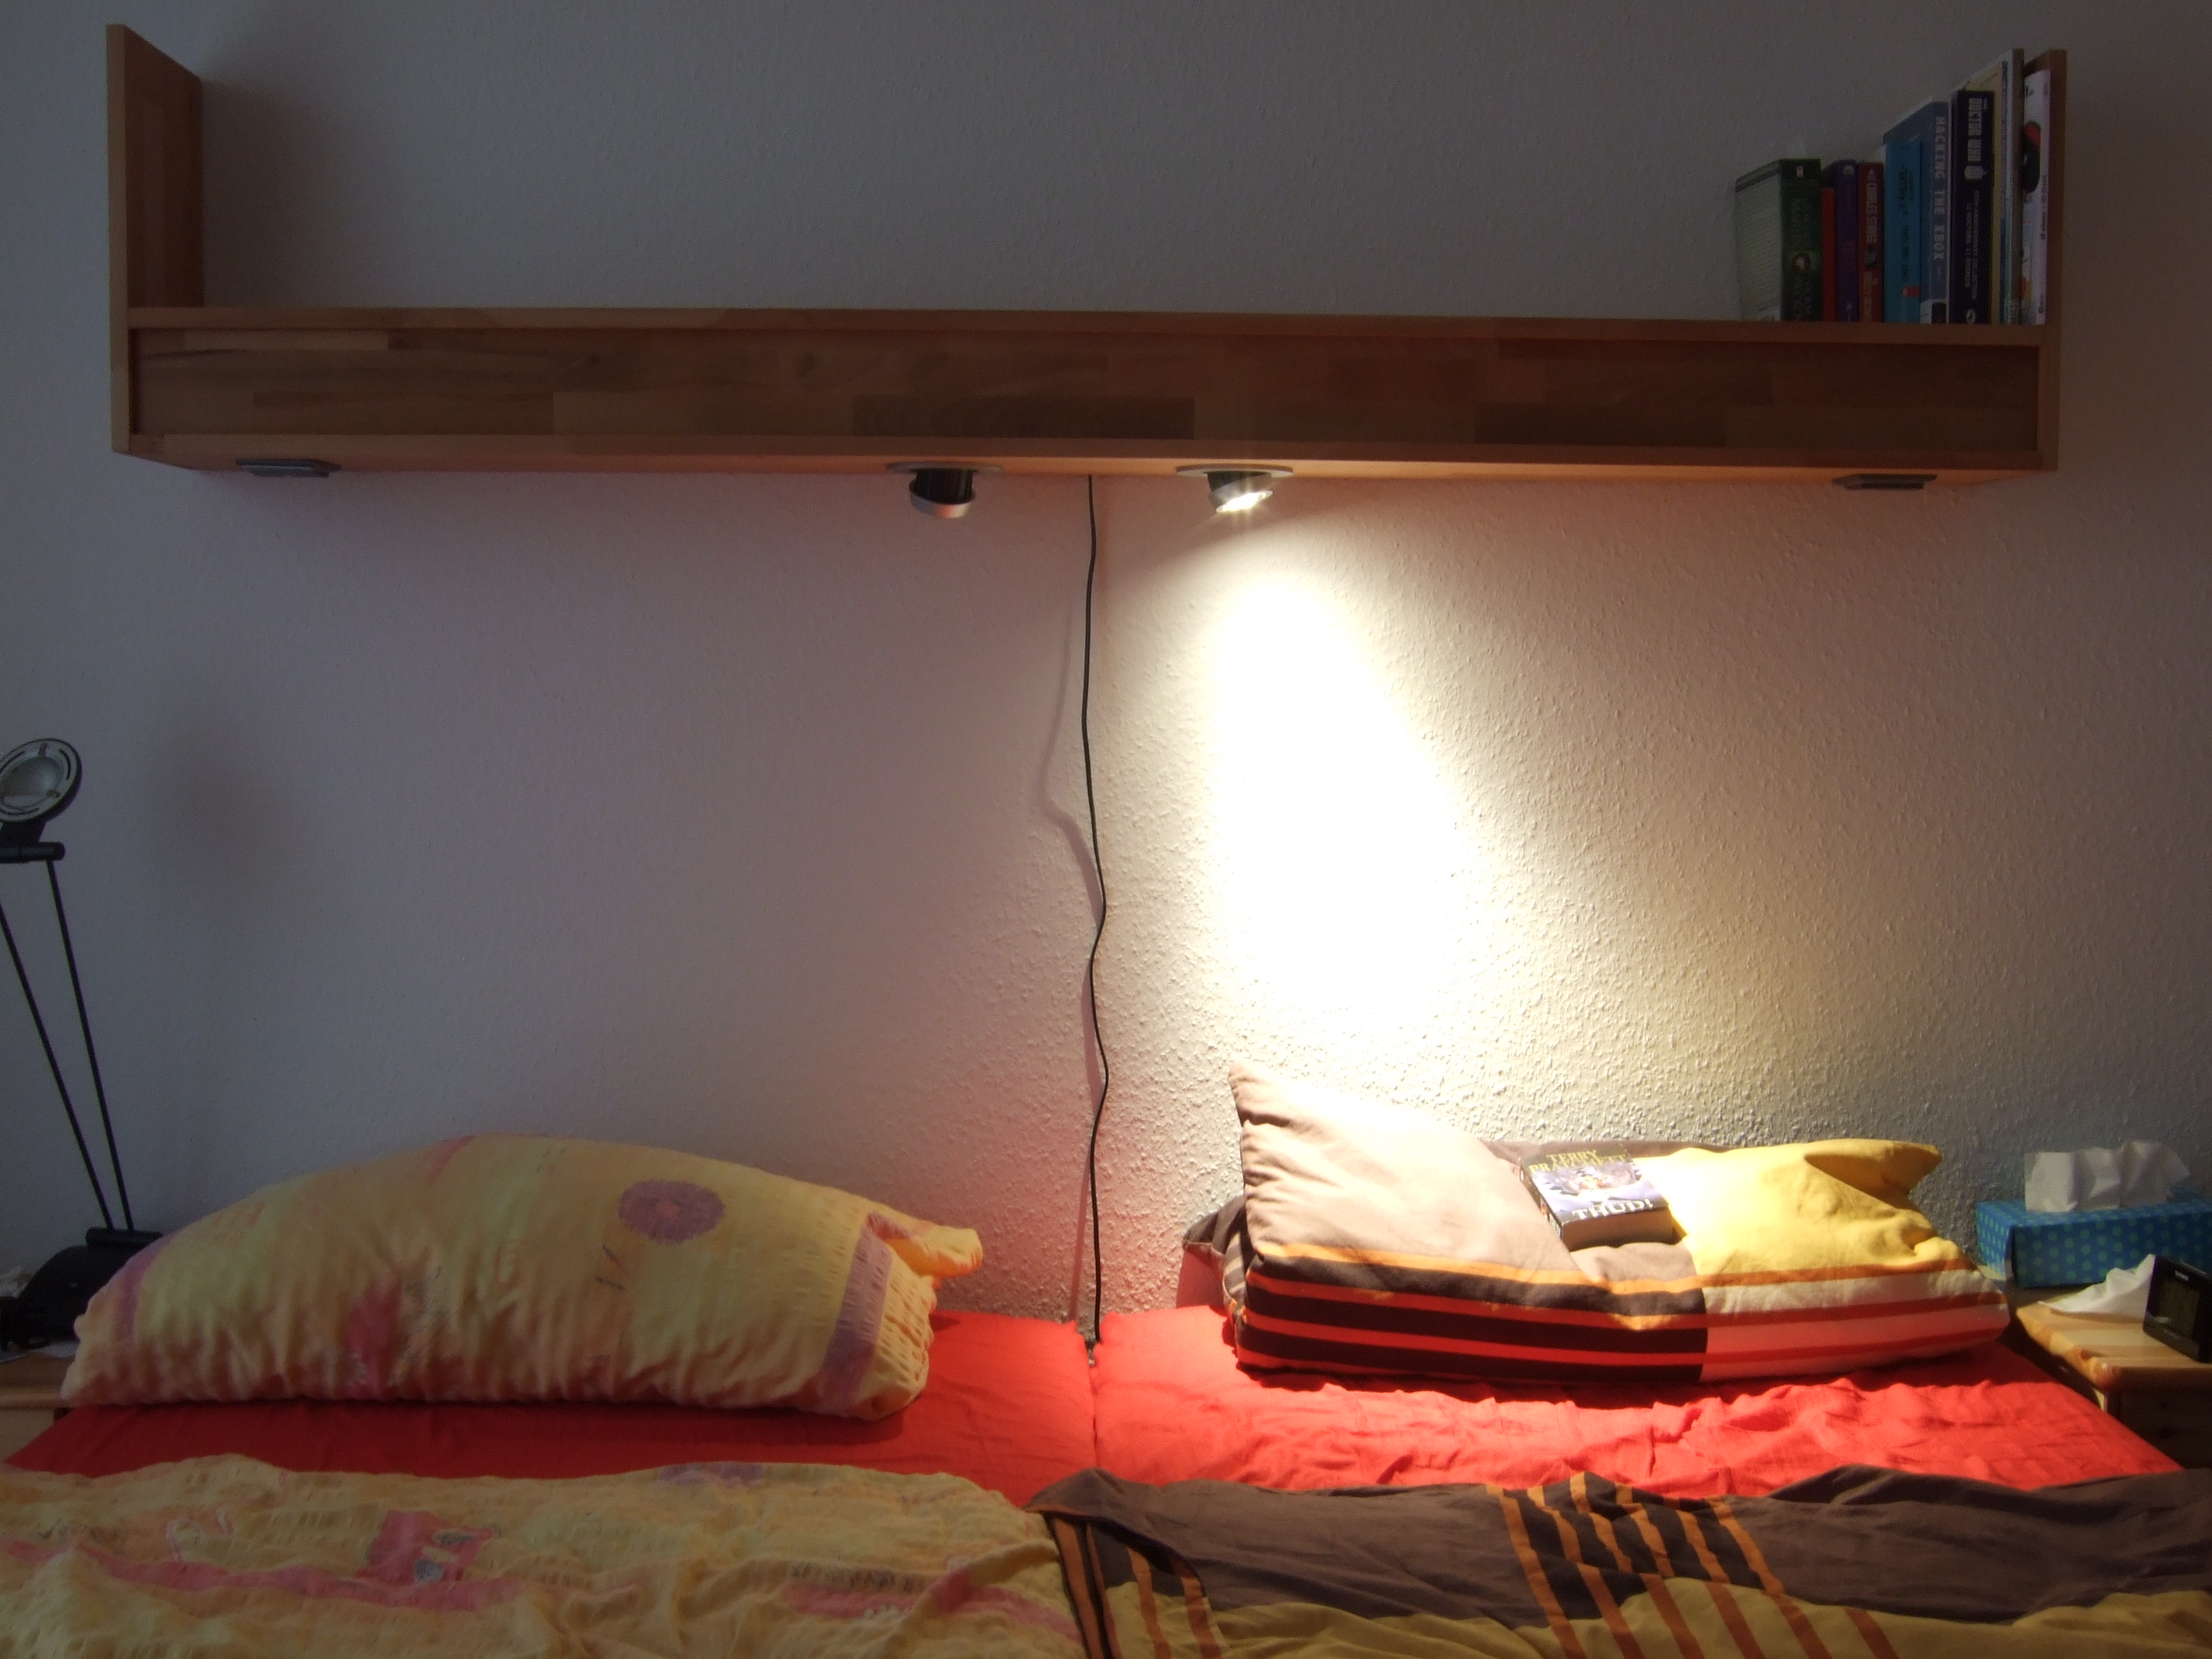
At the beginning of February 2014 I bought a few LED lights, light switches and 200x20x2cm glued wood panels in a sale amidst the bancruptcy of a large German hardware chain. My thinking was to make “something to put over the head end of my bed. That shouldn’t be too hard! It’s just drilling a few holes and fill ’em with screws”. Yeah right…
The first obstacle was cutting the boards down to the correct length. The one remaining hardware store in Lübeck at the time refused to cut boards that weren’t bought in their store. So I ended up driving the boards to my parent’s place (some 500km from Lübeck) and cutting them with a circular saw. At this point I think it prudent to point out that electric tools can be very loud and it is very advisable to wear hearing protection when working with them. You know… like I didn’t do.
I shortened the boards to 185cm to match the width of my bed and cut the side panels. Somewhat unsurprisingly it turned out that, lacking a guiding rail, I’m not able to make a perfectly straight cut 185cm in length. Which means that I went to one of Lübeck’s newly opened hardware stores (it is March now) and bought another 200x20x2cm board and had it cut to 185x10cm. This will be the front panel behind which the electrics will be hidden.
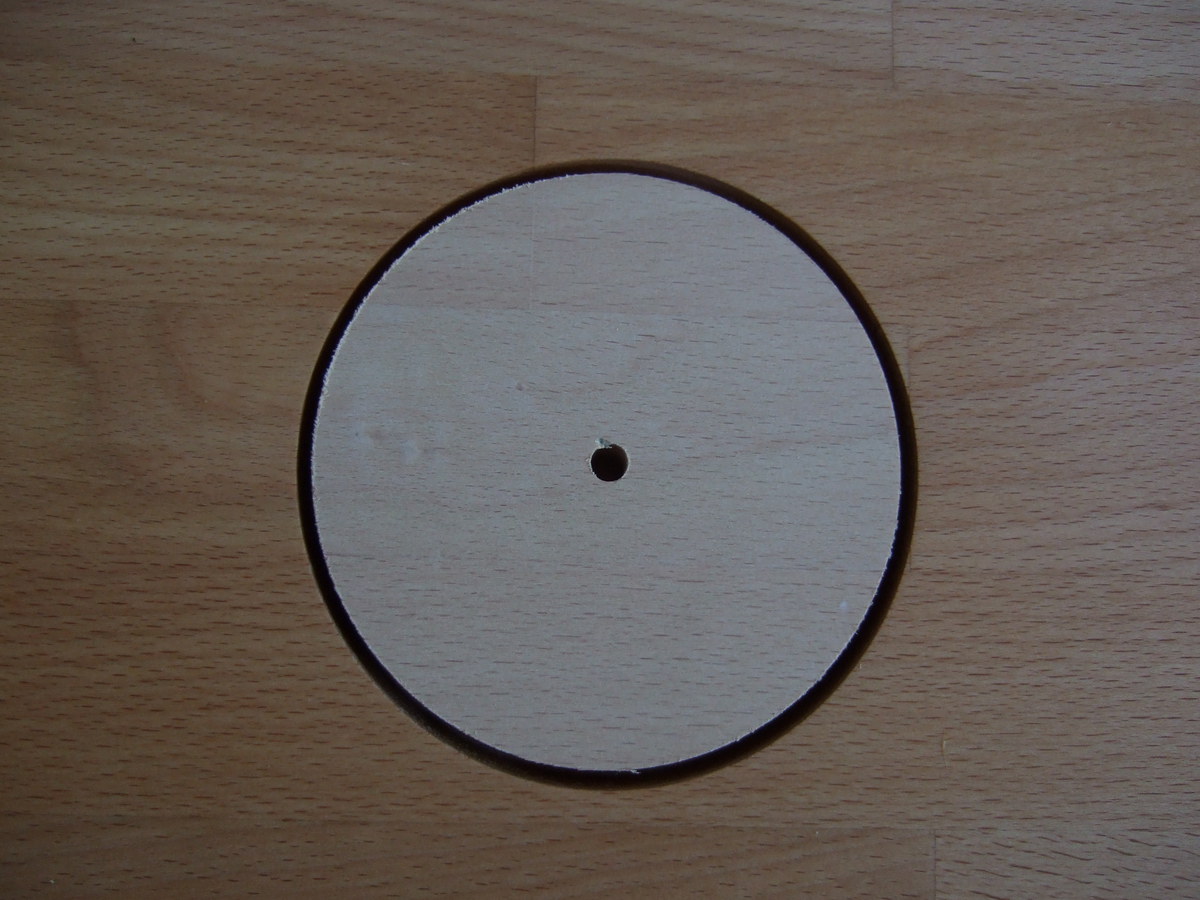
Due to a total lack of planning ahead, I did not drill the holes for the lights, the switches and the screws when I was at my parent’s place. So the boards traveled again once I realized that I lack a drill stand, but still would like the holes to be perpendicular to the board’s surface and that drilling free hand with a 105mm hole cutter might be dangerous to my wrist if the cutter gets stuck and the drill kicks back. By now it is mid-April.
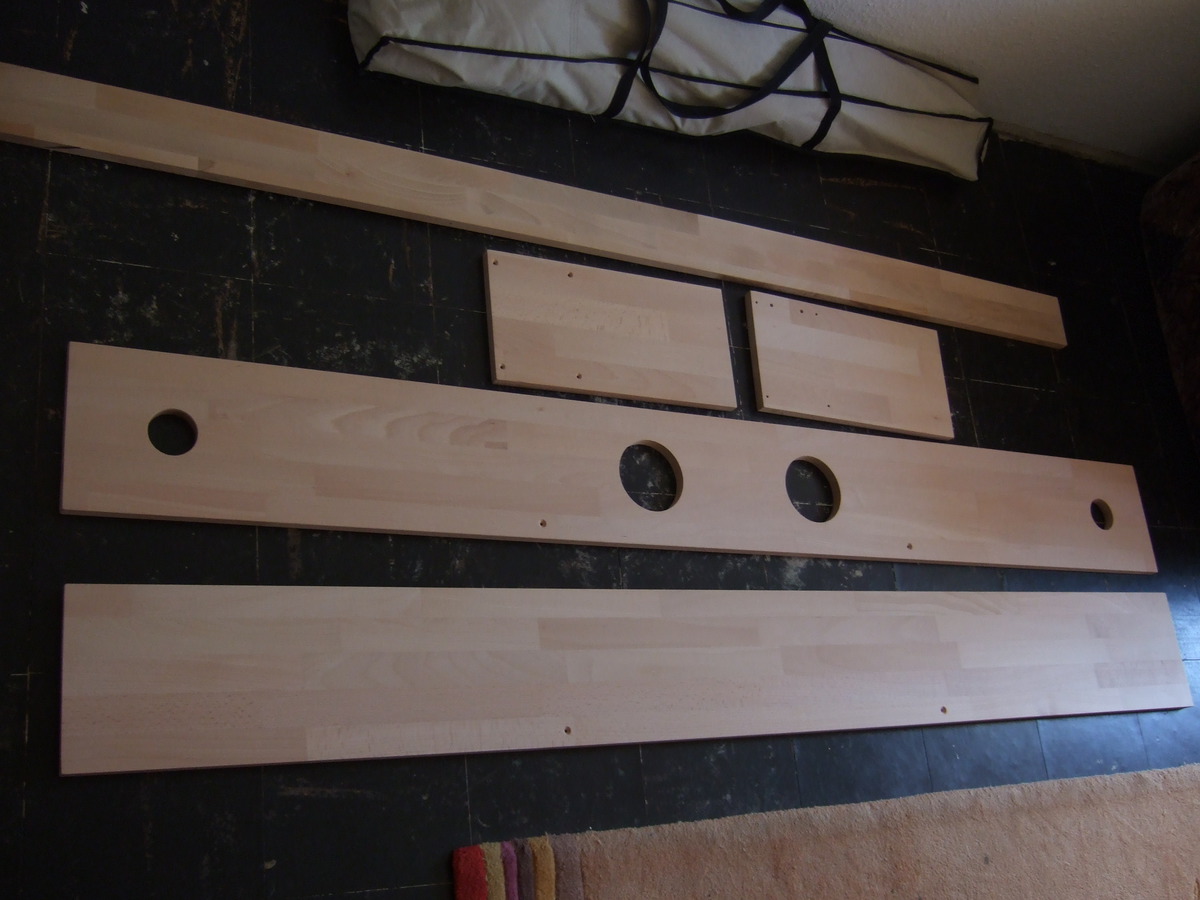
I even cut cones to sink the screw heads
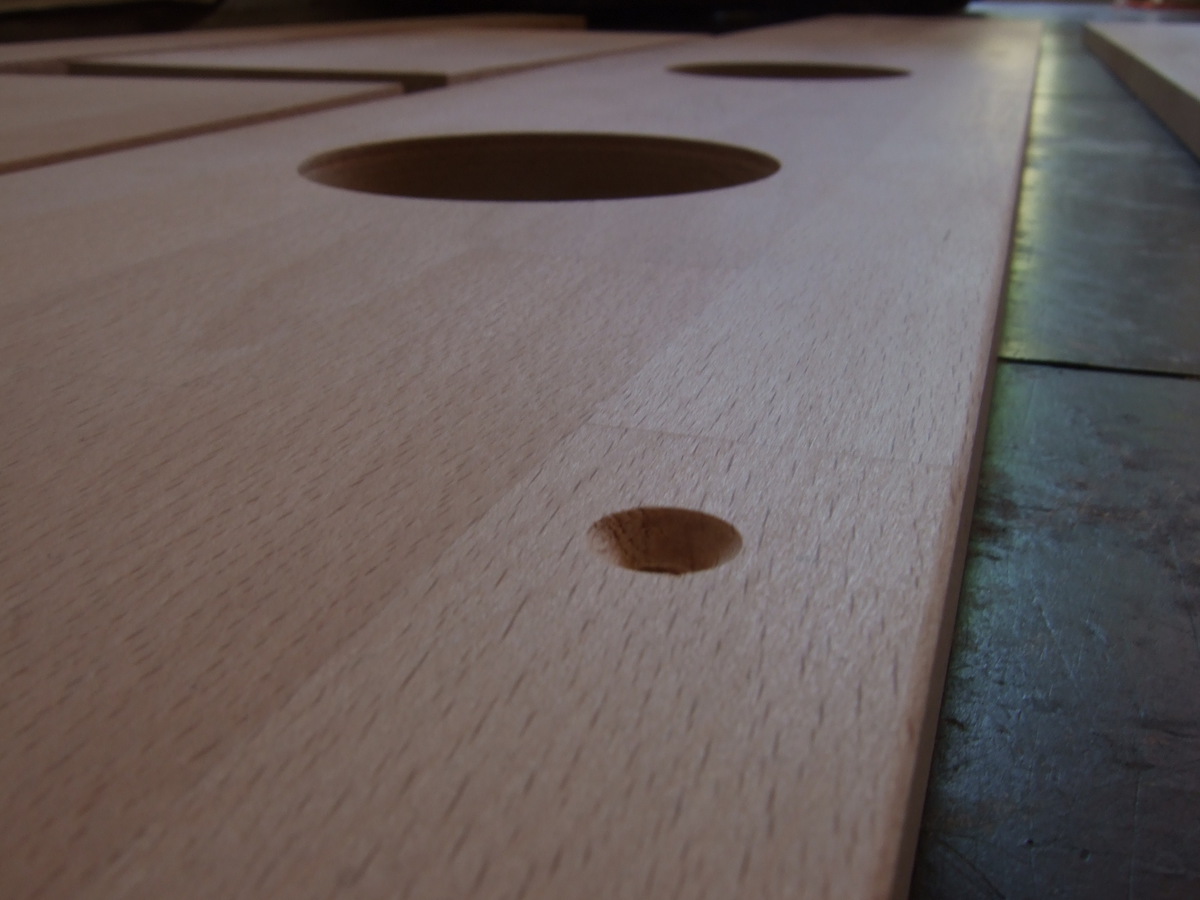
Back in Lübeck I sanded the boards smooth. By hand. Afterwards my cellar room was covered in a coat of dust and I retrieved what felt like I kilogram of wood dust from my nose. At this point I think it prudent to point out that saw dust is particulate matter, gets in your lungs and is potentially cancerous. So wear a respirator. You know… like I didn’t do.
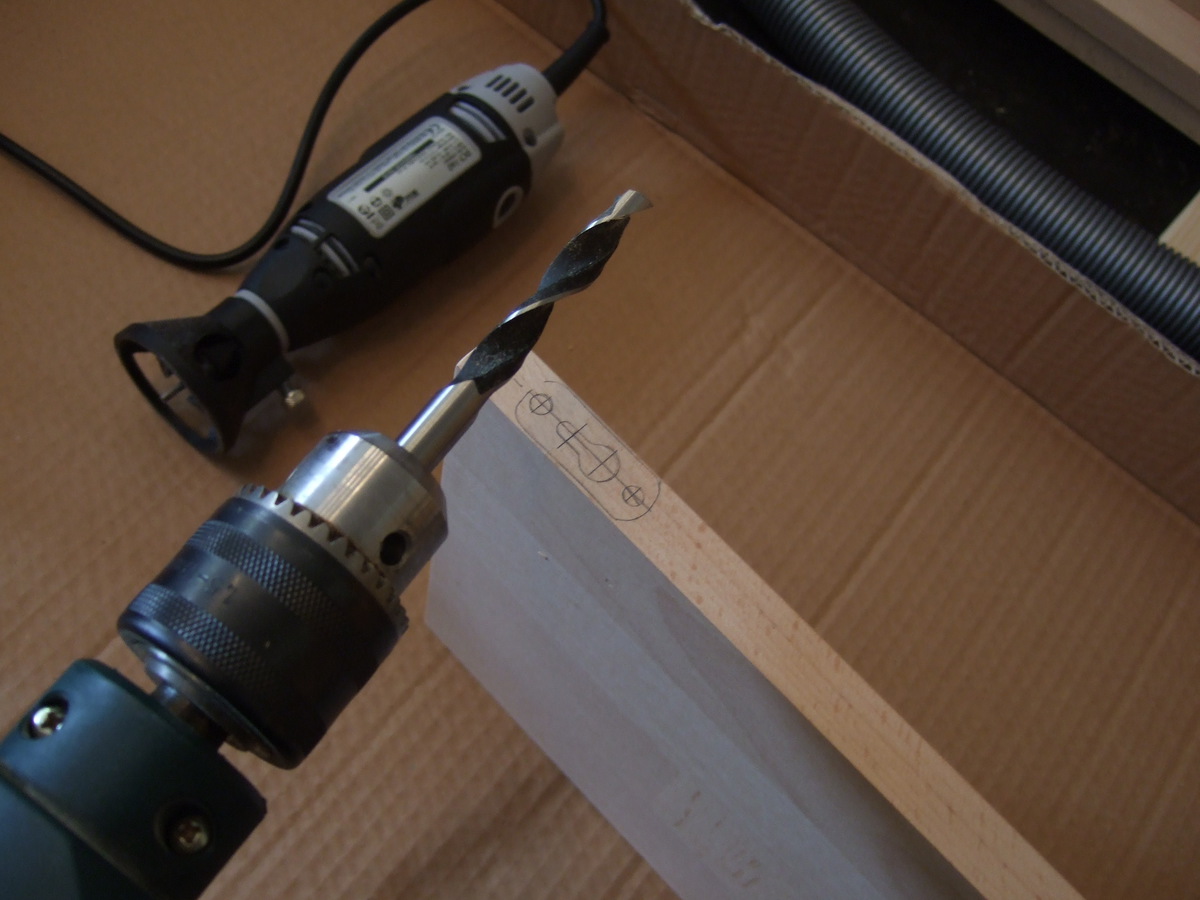
The next thing I did was carve out the indents for the mounts. First I drilled the deep portion with a drill …
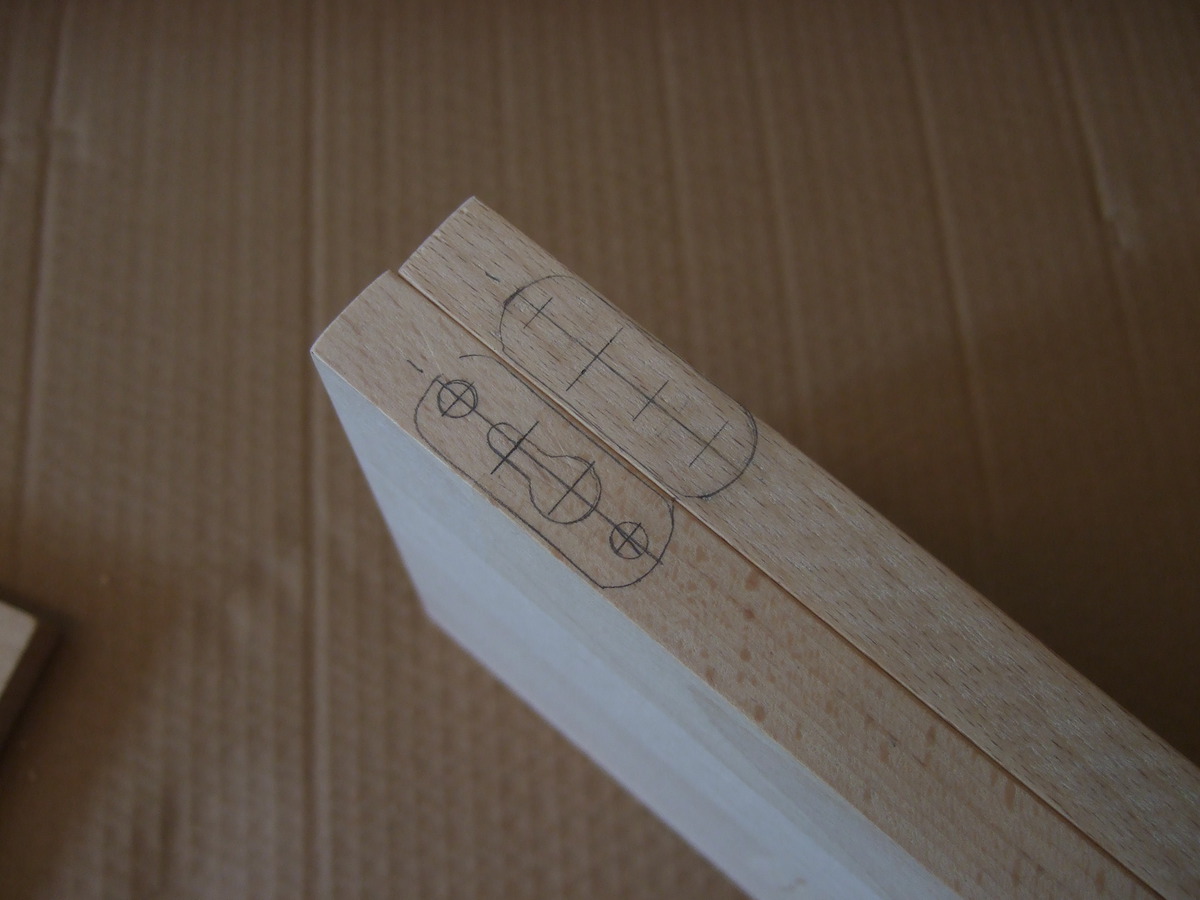
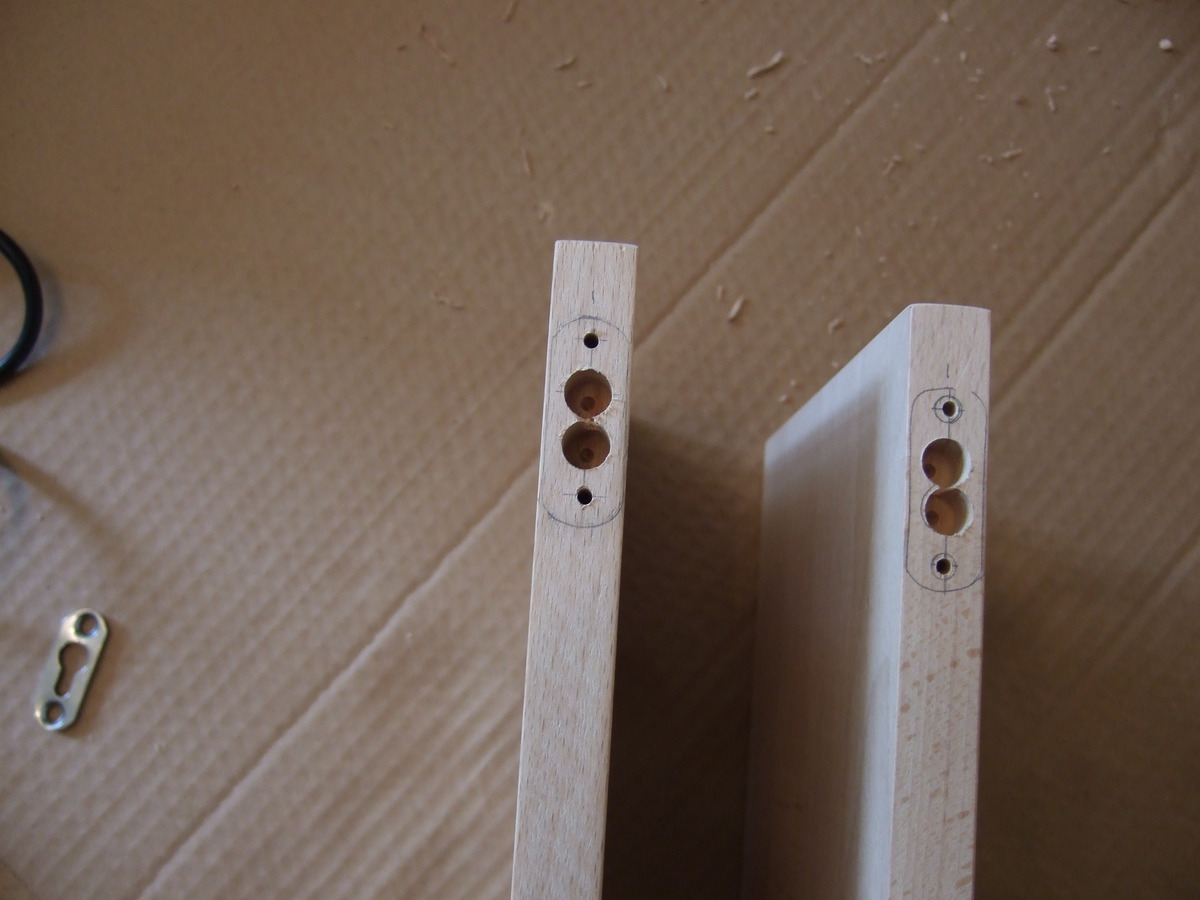
… and then I milled the remainder with a Dremel-like tool. Lacking a workbench, I put both sides head to head and clamped them together so that the attachment that allows milling a fixed depth would not slip off the edge of the work piece:
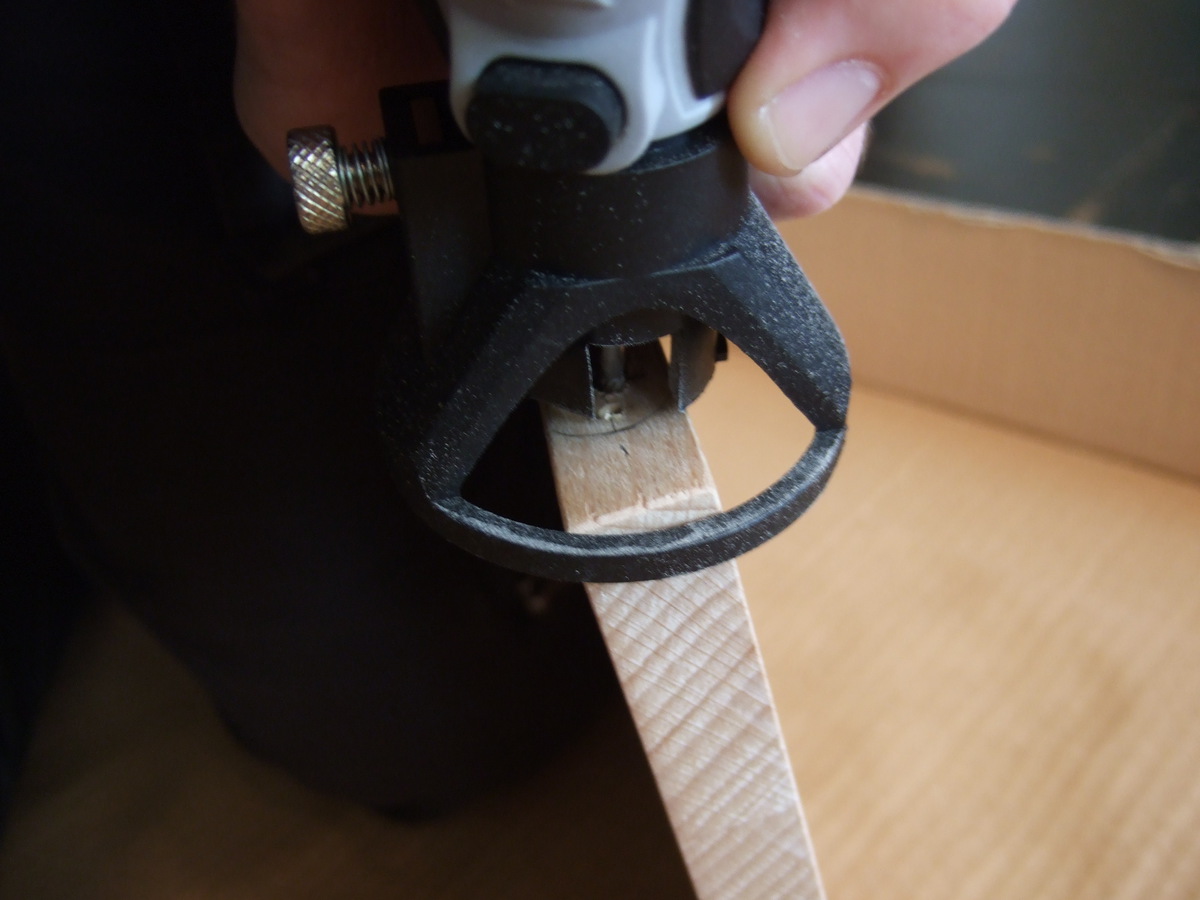
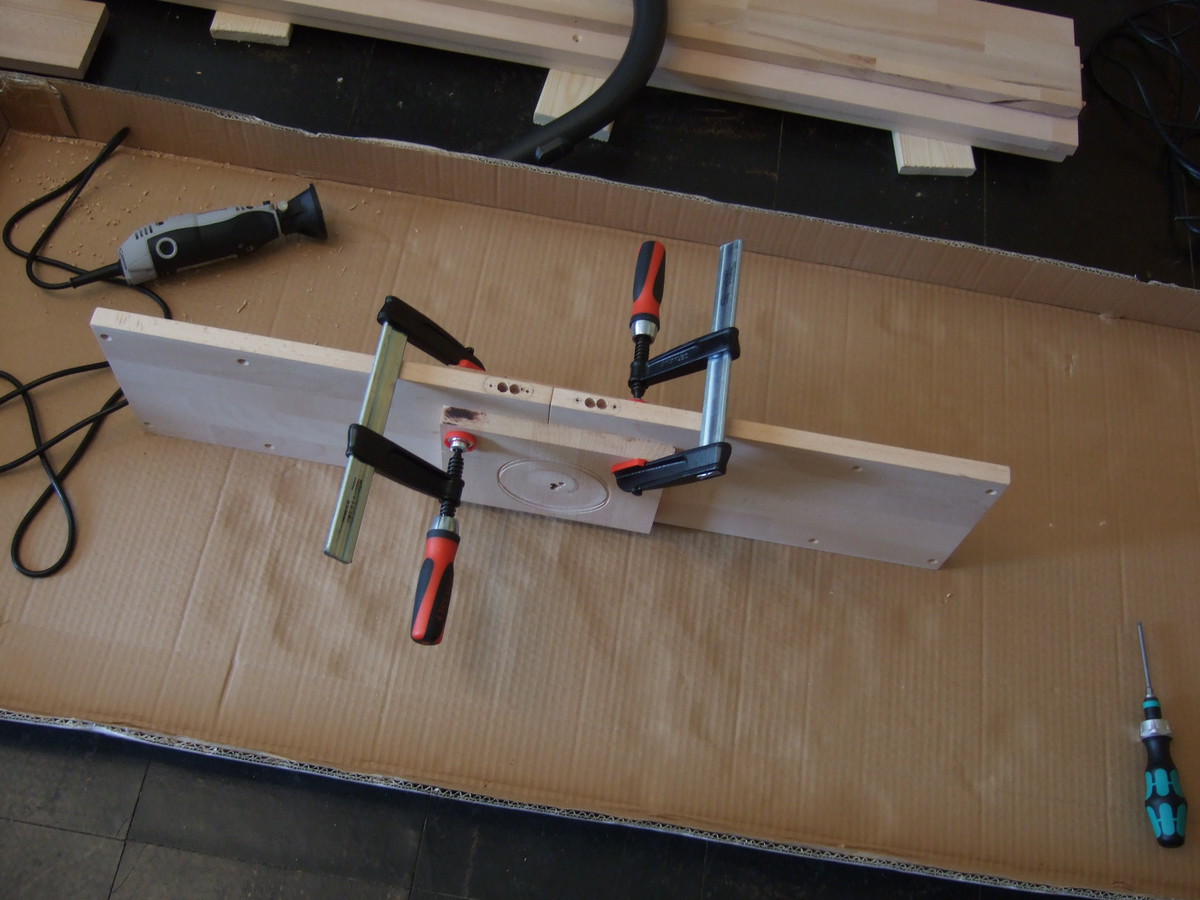
Since I have no clue what I’m doing, I initially used the wrong tool.
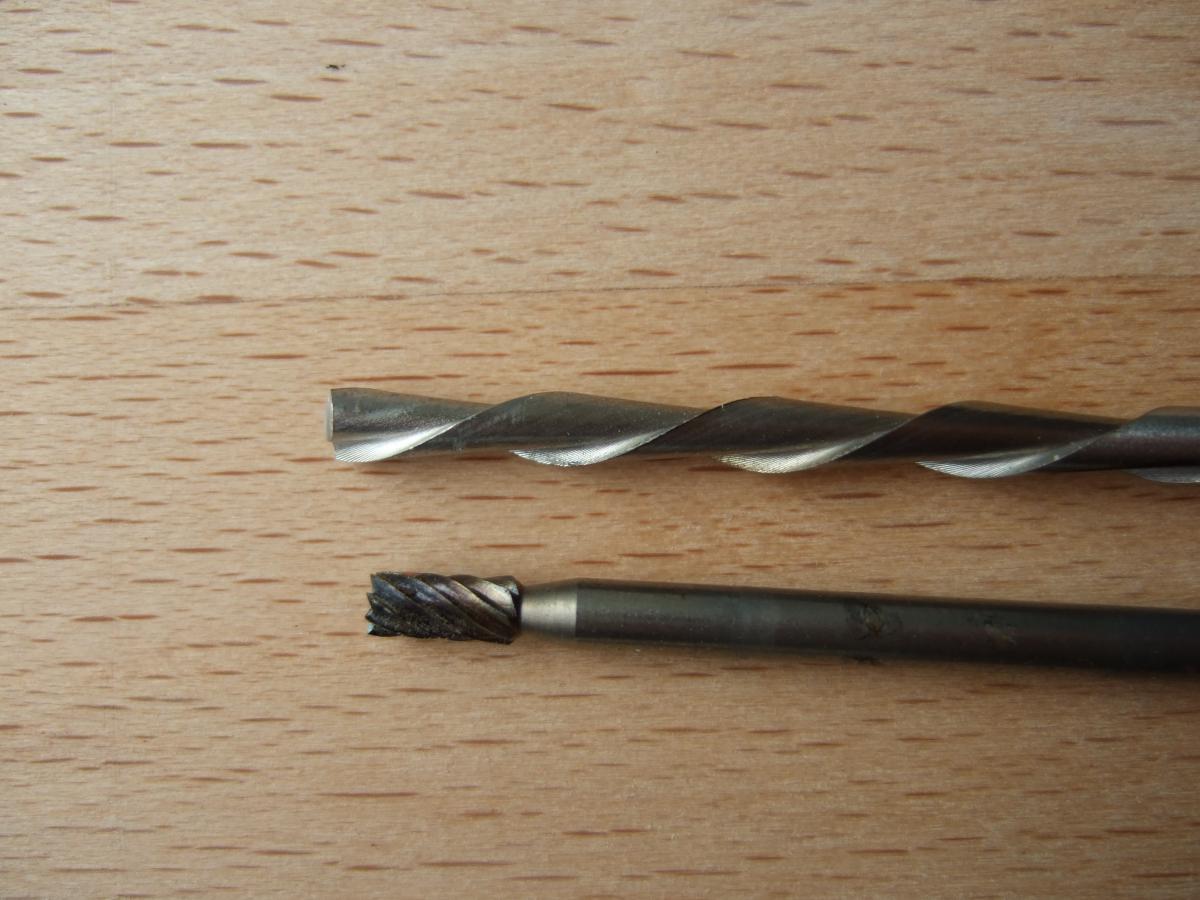
I started with the one on the bottom, which in retrospect I must say I should have known was wrong. The one on the top worked like a charm though.
The result looks a bit rough and unrefined, but since it will be covered by the mounts and at the back of the shelf, I’m okay with that.
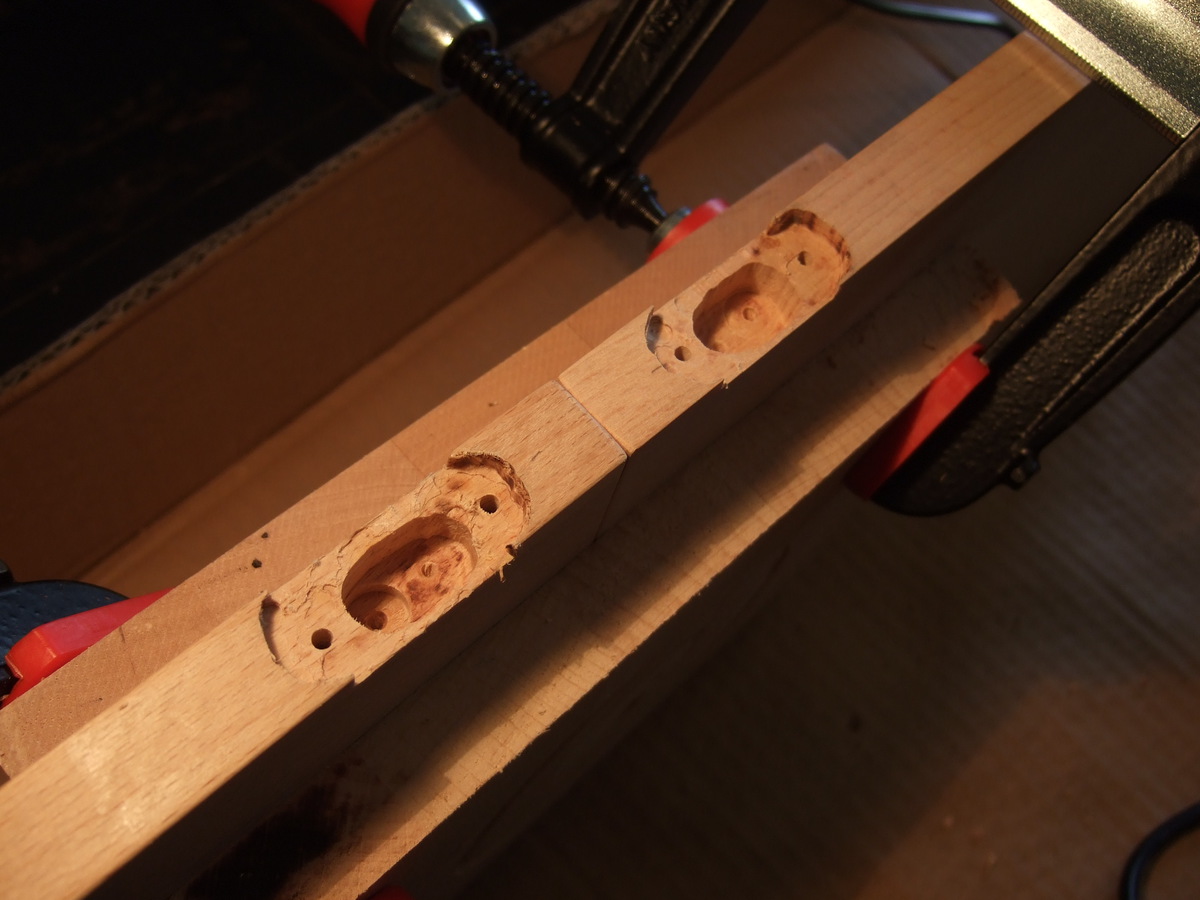
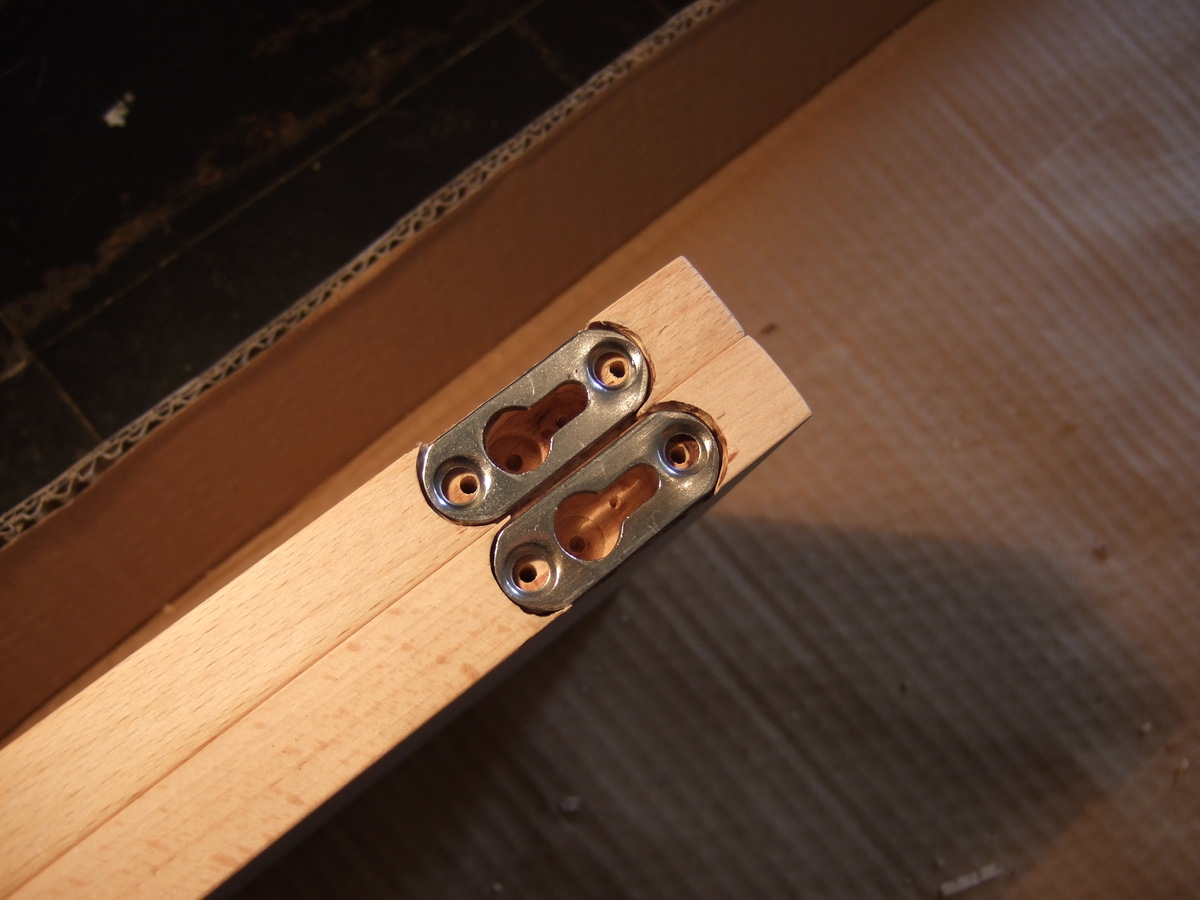
At this point I might have put everything together and hung it up on the wall, but I wanted it to last a while. After some researching I decided against using any newfangled glossy coating and chose to use a time-honored finish: linseed oil. Since it was May by then, I enjoyed balmy spring wheather as I got busy on my balkony.
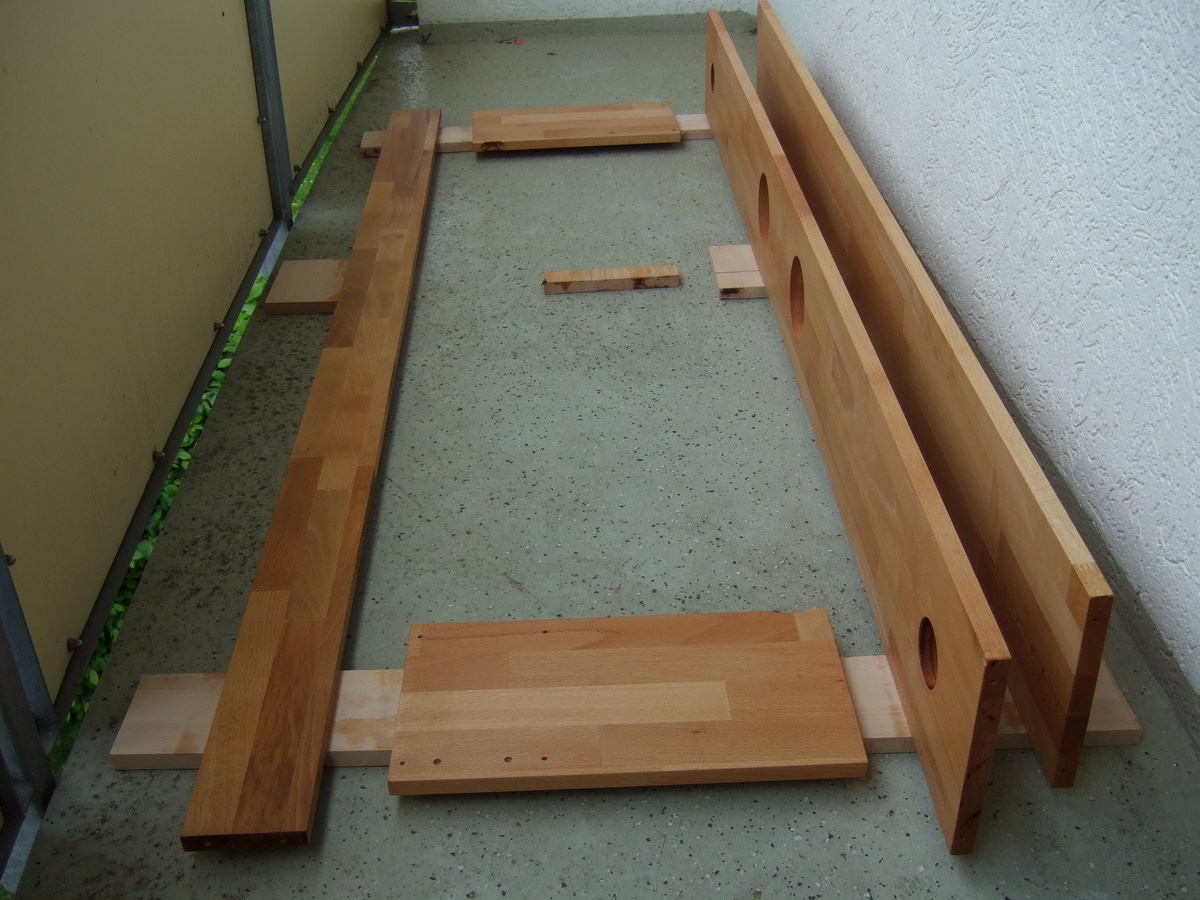
Here is a direct comparison of the wood before and after finishing:
After the second coat was reasonably dry at the beginning of June, I assembled and wired the whole thing
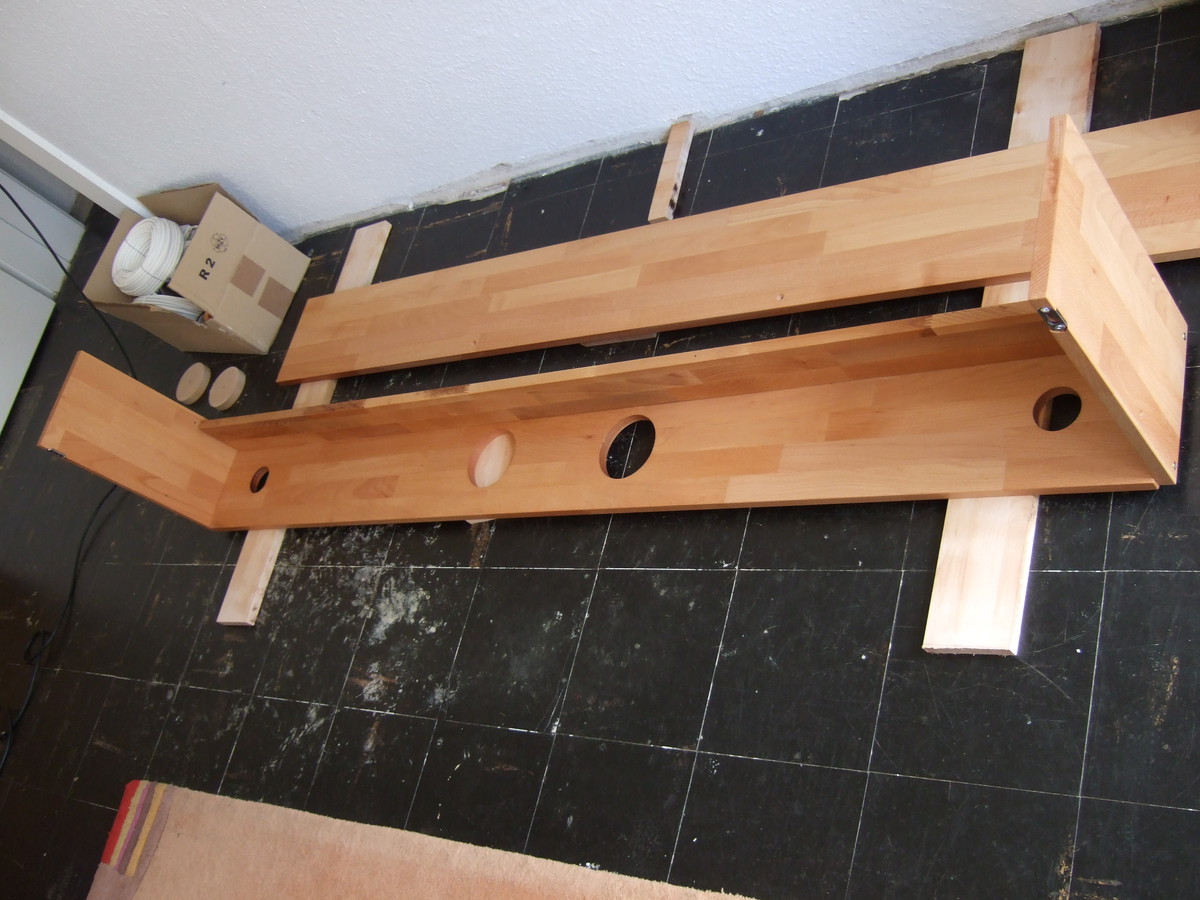
A few minor faults became apparent, such as the lower board being a bit wider than the sides.
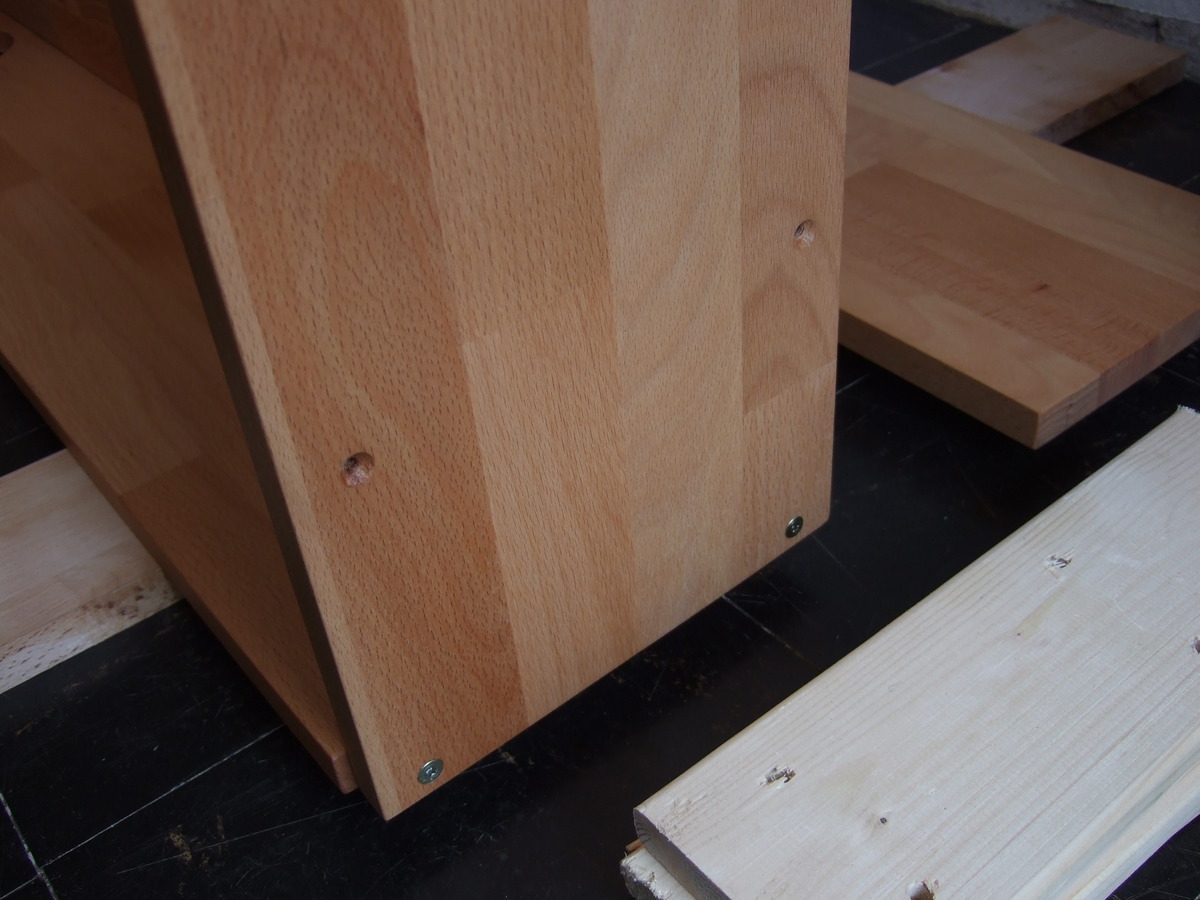
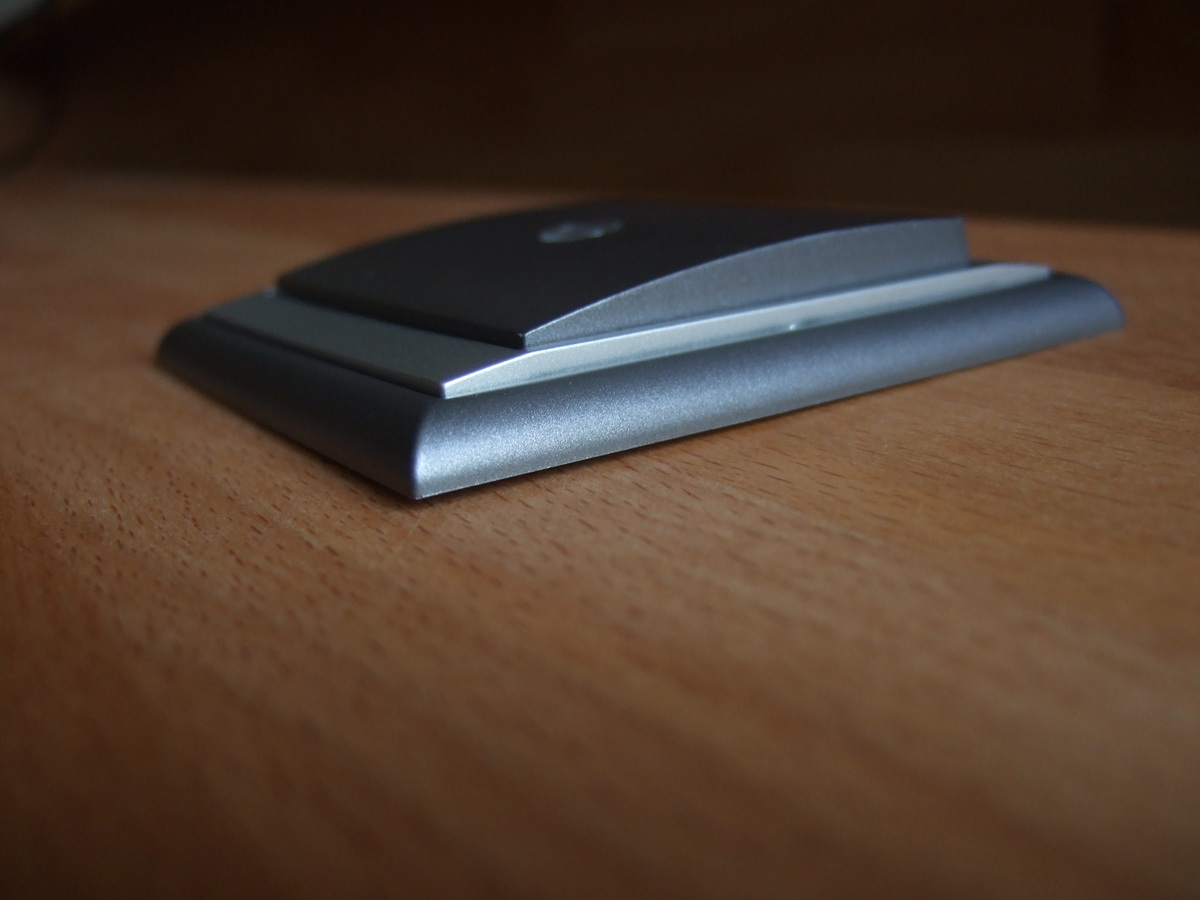
I put the light switches in. Unfortunately the screw heads are not flush…
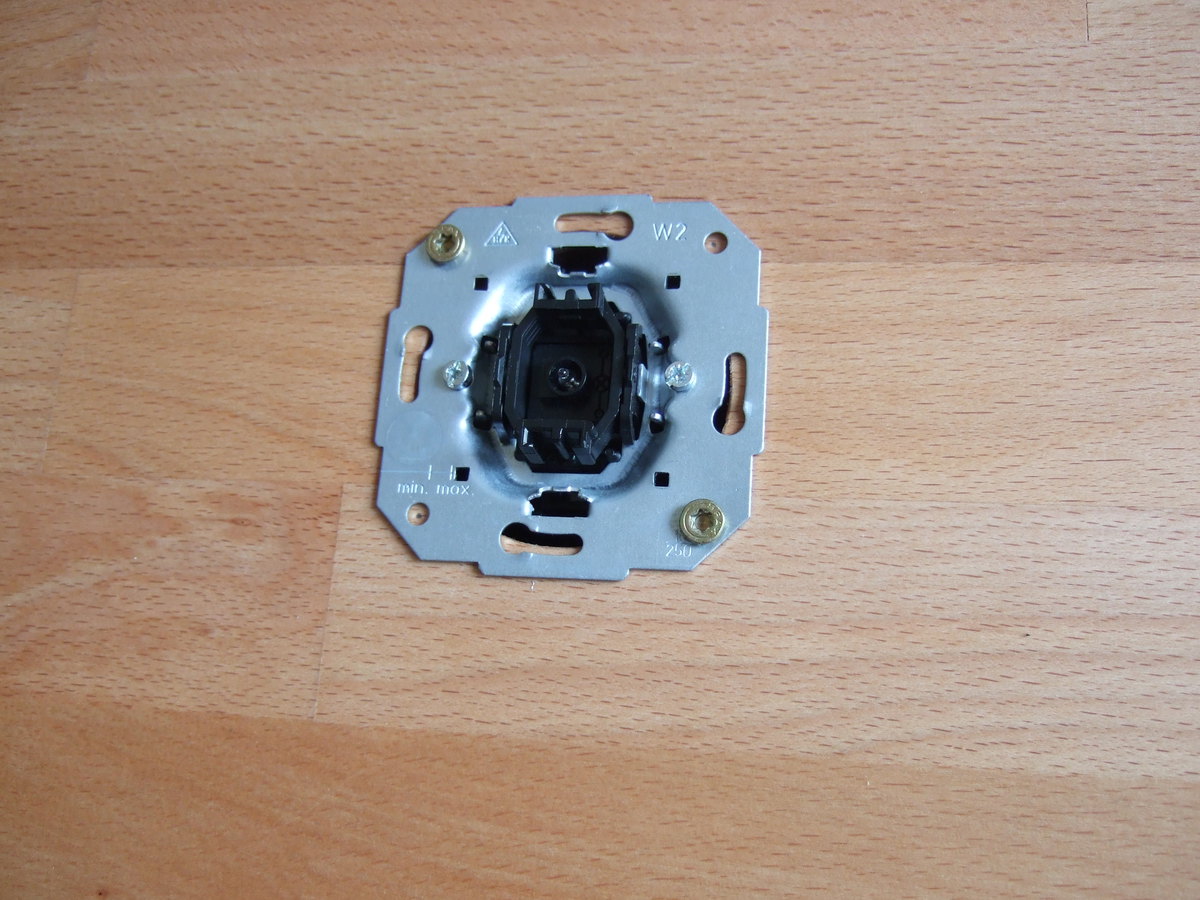
… which causes the frames to lift off a little in the corners where the screws are
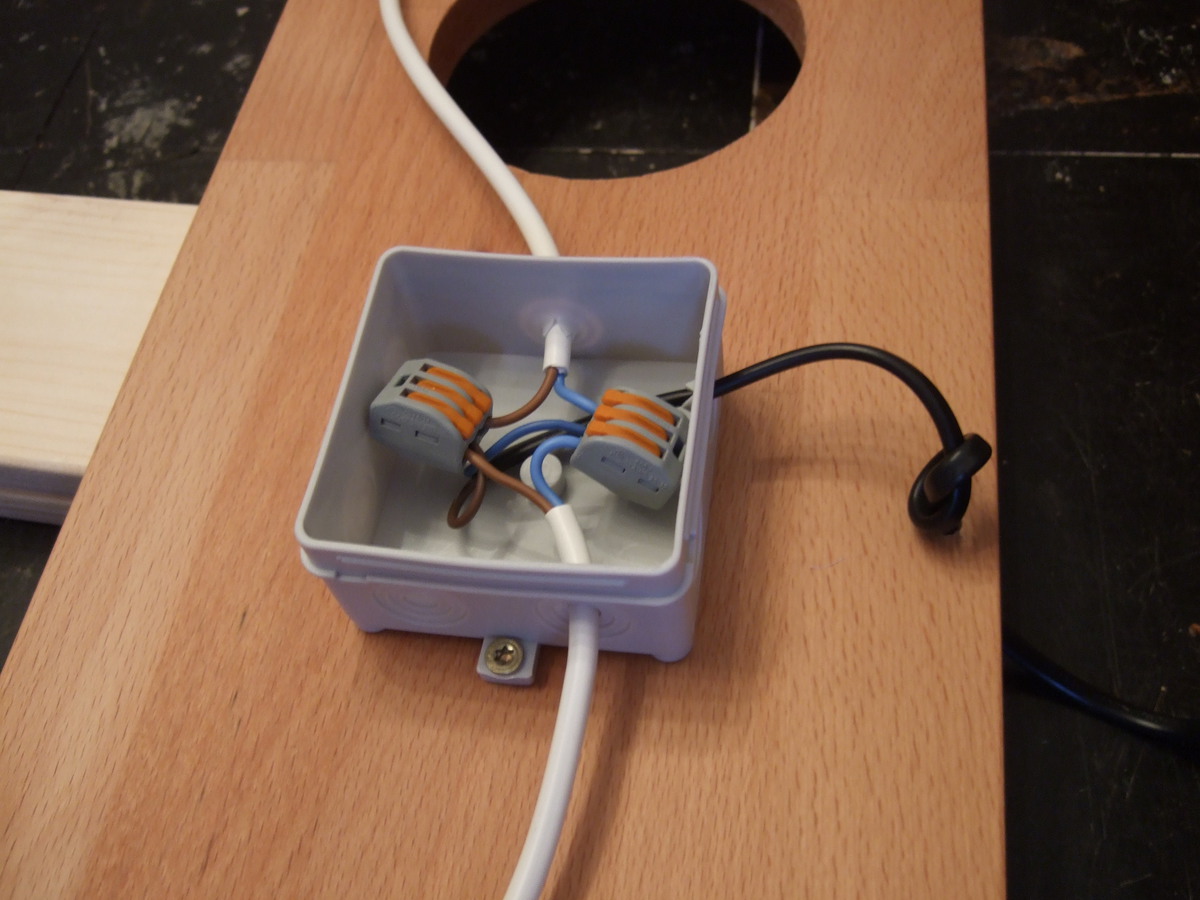
The wiring was pretty straightforward, I encapsulated everything in junction boxes and used Wago 222 connectors.
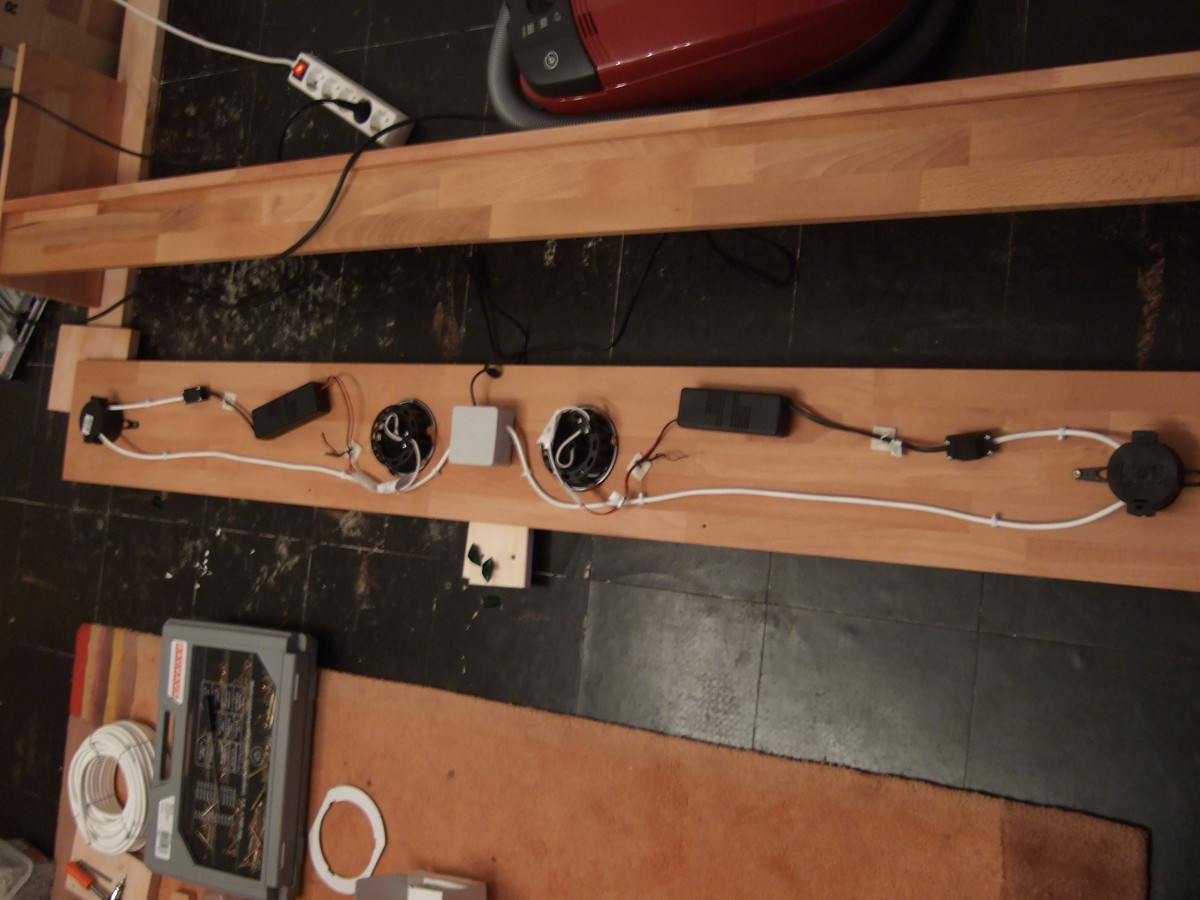
Done!
And it even works!
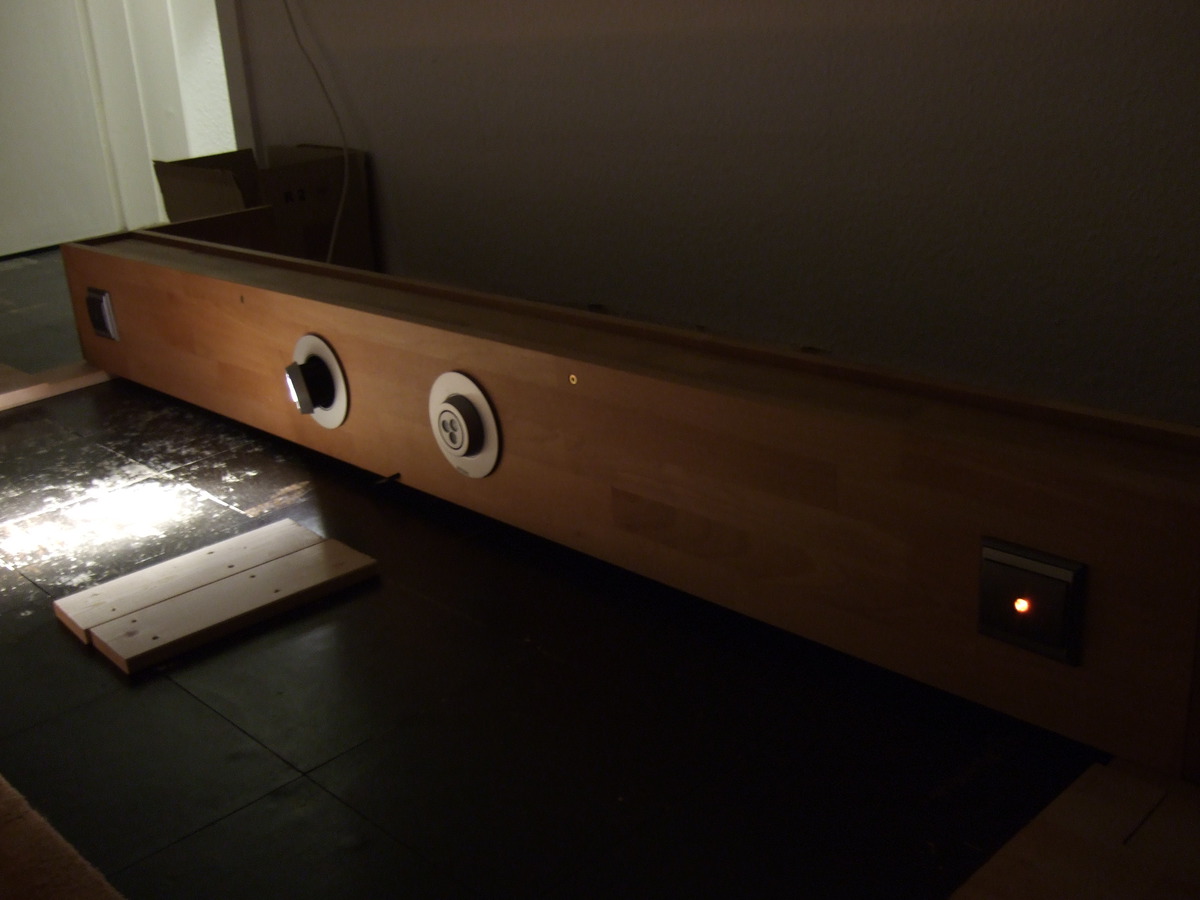
It is by no means perfect, but all in all I’m pretty happy with it. Lessons learned:
- if you are just starting out building a basic stock of tools and consumables, it can get expensive surprisingly quick. Mundane items like screws add up, especially since they often are not sold in small quantities.
- nonetheless, protective gear is something one should not let fall victim to budget cuts. A good set of earmuffs can be bought for 20€, basic foam earplugs are even cheaper. There is no good excuse not to use them, it just needs a little discipline to do it even for quickly sawing something. Similarly, a respirator mask and compatible particle filter cartridge goes for something like 30€. And your health is invaluable.
- even if you have the tools, buying something at a large Swedish furniture store is still cheaper. But that isn’t the point, is it?
When I moved out of my appartment in Lübeck, I discovered that some of the linseed oil had soaked into my wallpaper. So next time I shall wait a bit longer before declaring a linseed oil finished piece of furniture dry.
